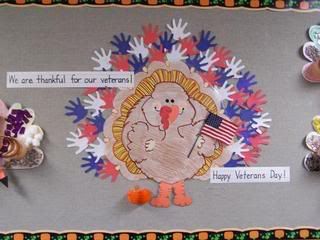
After the ghosts, witches and jack-o-lanterns make their way to my Super Stars' homes for Halloween, the room looks a bit bare. I'm always thankful that my students enjoy taking ownership of their surroundings, decorating the room to follow our monthly or seasonal themes, but November is always one for the birds... turkeys!
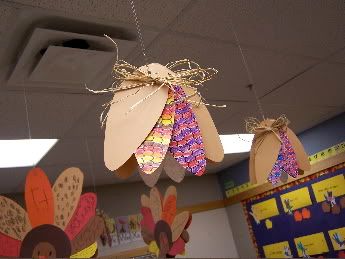
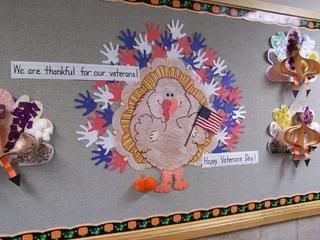
From the traditional construction paper variety:
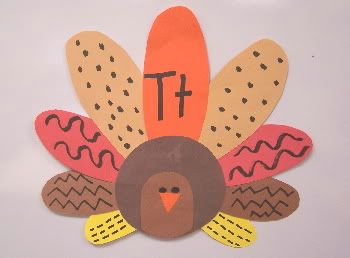
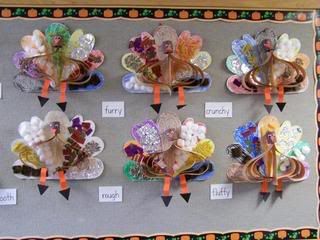
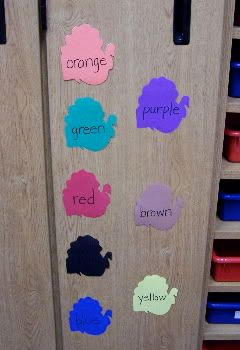
...to reminders of sight words (color words in this case):
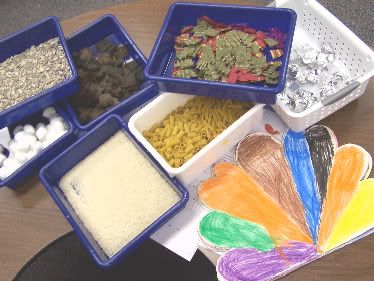
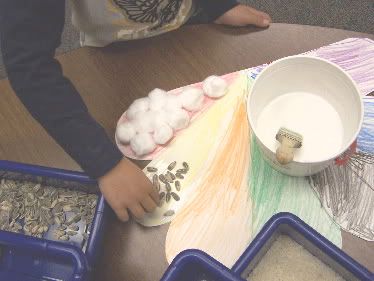
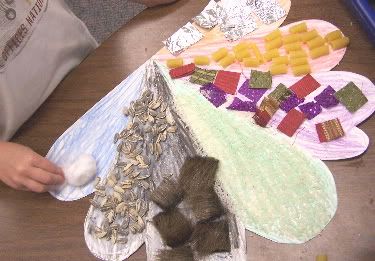
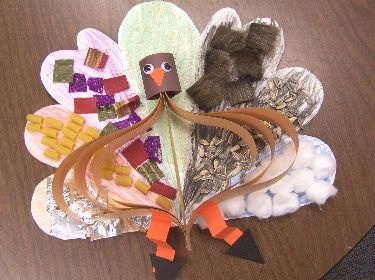
...to a work in progress: an open-bodied turkey form that will be fastened to the front of a textural background later this week (students have colored a turkey feather outline on heavier cardstock and will be gluing various materials representing several different textures onto it before adding the construction paper body):
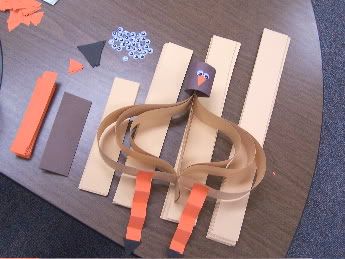
He looks pretty bare without his insides and his tail feathers, but I'll photograph the finished project by this weekend!
If you'd like to make an open-bodied turkey so that the background art can show through, here's what you'll need (and
NO, this project is NOT the friendliest for kindergartners, so
have a parent volunteer, classroom aide, or upper-grade buddy class standing by to help you and your students assemble the body if it's one that you think will work with fancy tail feather art) :
Light brown construction paper cut:
2 pieces 2 inches by 18 inches
2 pieces 2 inches by 15 and 1/2 inches
2 pieces 2 inches by 13 and 1/2 inches
1 piece 2 inches by 9 inches
Dark brown construction paper cut:
1 piece 4 inches by 6 inches (head), folded in half
Orange construction paper cut:
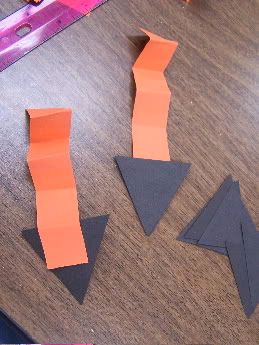
1 inch by 6 inches, folded accordion-style (legs)
Small triangles cut for the beak
Black construction paper cut:
2 inch by 2 inch squares from which students may cut triangles for the feet
Eyes can be drawn onto the face, but the google eyes are a bit more fun!
*****
Here's the head, (dark brown construction paper) folded in half and stapled then *smooshed* so that the stapled end is in the back (eyes and beak will be glued onto the flat front):
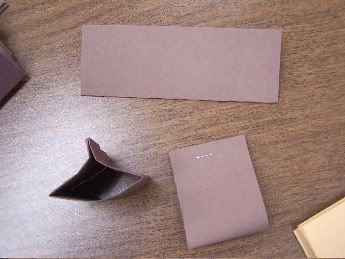
See the *smoosh?*
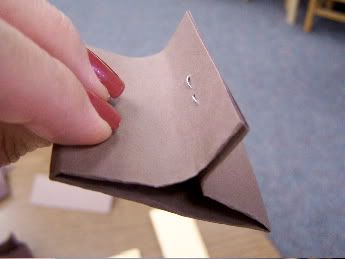
Arrange the pieces in the following order: (1) 2X18, (1) 2X15, (1) 2X13, (1) 2X9, (1) 2X13, (1) 2X15, and (1) 2X18. Make sure all the ends meet/match up on one end, and staple it (I'm holding the stapled end in the photo):
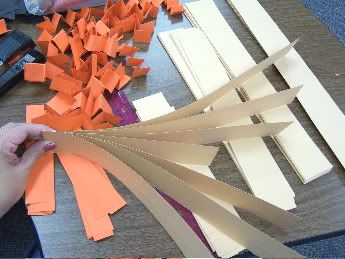
Then match up all of the opposite ends so they meet up. Staple. There's the turkey body!
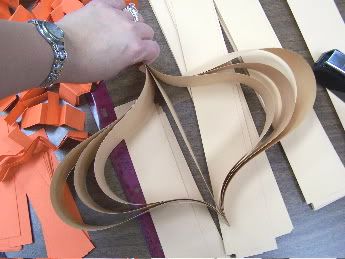
Have students accordion-fold the legs and glue black triangles on for the feet. Add google eyes and beak to the head piece and slide over the top of one end of the turkey's body.
I can't wait to see how our gobblers look with their textured tail feathers!
*****
(What will all of these turkeys eat? How about some corn?)