
Students can peel the paper wrappers from the crayons by hand (Crayola crayon wrappers peel cleanly, while other brands leave adhesive residue), or classroom volunteers can use exacto knives to quickly slice through and remove the paper. At least two-thirds of my students relocate at the end of each school year. Since their families prefer to NOT worry about where crayons might end up, melted and messy amongst their household goods, I end up with two or three LARGE ziploc baggies full of crayons each May:
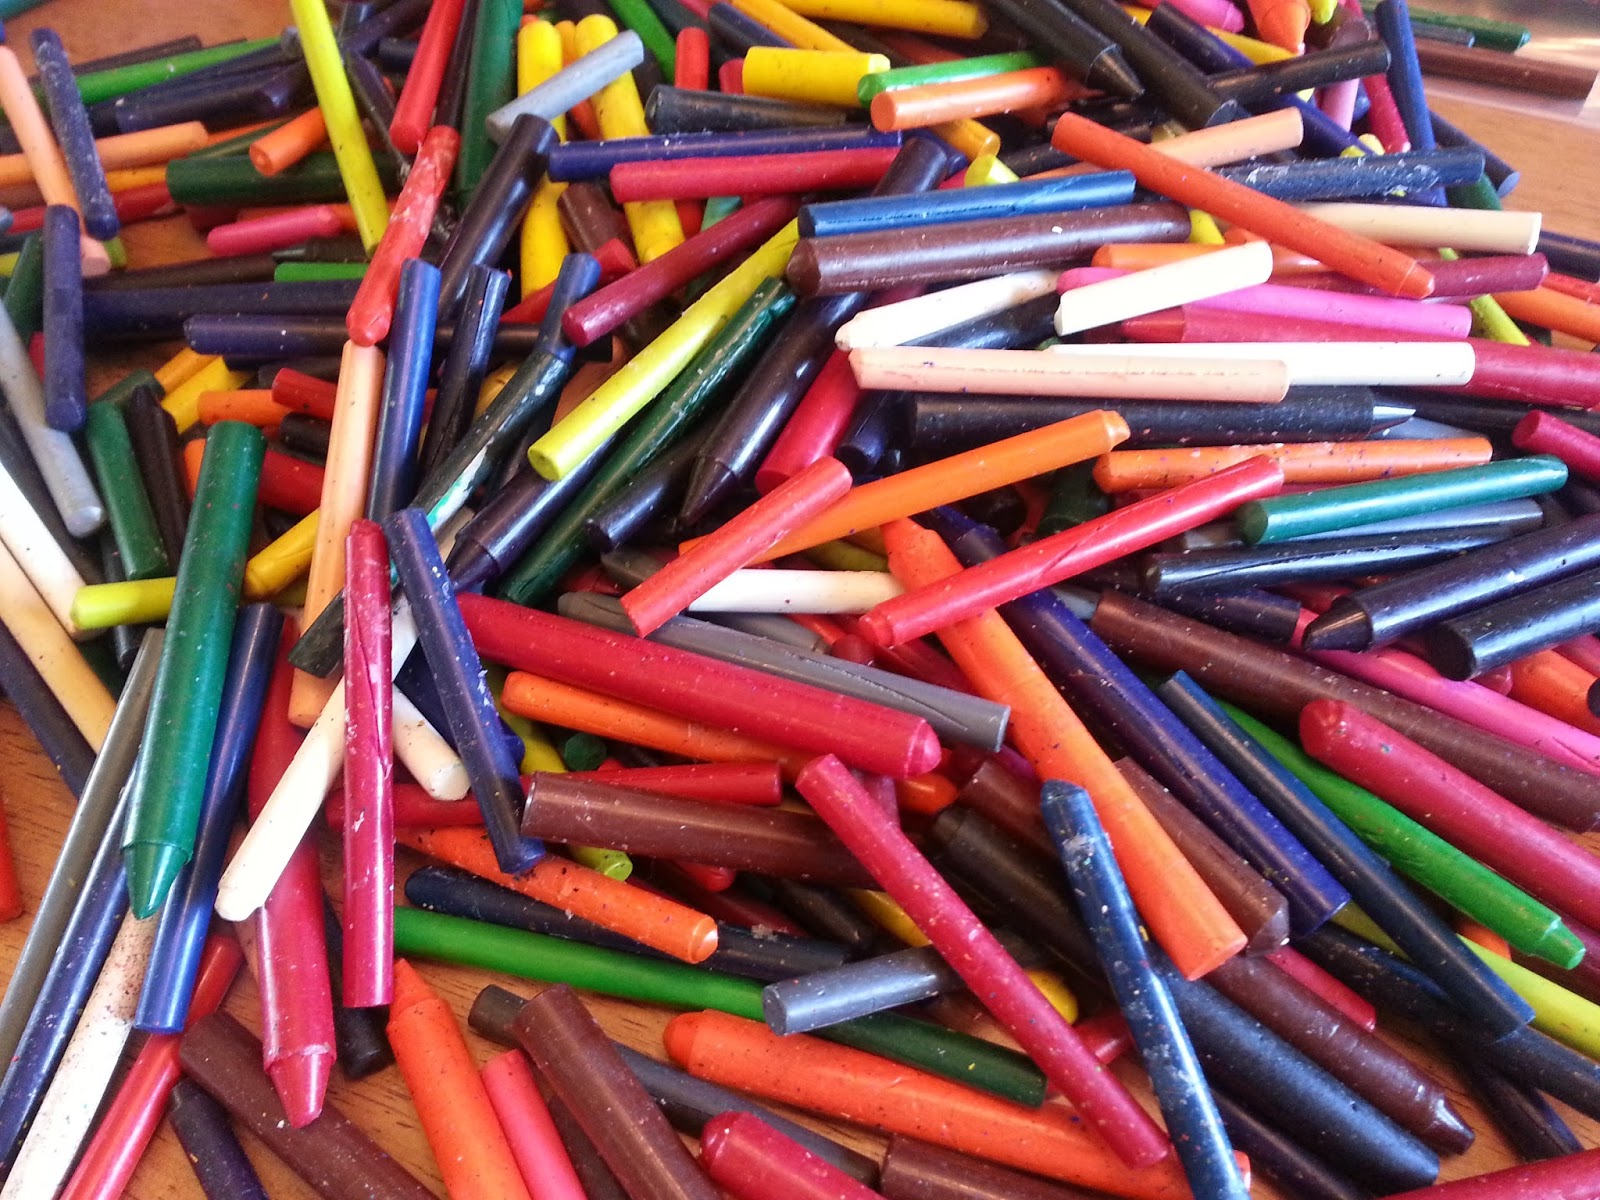
Having an almost fourth grader in my house means that sorting crayons is a quick and easy job. After looking through the silicone molds that I have, we decided to make star and heart crayons.

I've found great tutorials on making crayons using metal muffin tins, but I like the different sizes and shapes that are available in silicone molds. I find my molds at Joann Fabric and Crafts or Michaels, and always use a coupon to get them for at least 40% off. When you're looking for molds, make sure to NOT use plain ice cube trays: you need molds that are oven safe:


You'll need to break or chop your crayons into smaller pieces. I've found that pellet size, about a quarter of an inch wide works best, especially when you're filling smaller molds. I put a sheet of parchment paper down over a sturdy cutting surface, and use a large knife to cut same size crayons: I don't try to cut fat crayons with normal sized ones as it makes the knife wobble. Safety first!

My son and I decided that we'd like our hearts to be red, white and pink. Cut slowly across each crayon, applying pressure to the tip of the knife, then pressing slowly down as you lower the blade across each crayon to the back of the blade. No slicing and dicing sous chef action here: s-l-o-w is the way to go.


I line a metal cookie tray with aluminum foil, and then place the mold on top of it. The foil catches any loose pieces of crayon that might fall or melt onto your tray.

Preheat your oven to 275 degrees fahrenheit. Depending on the depth and size of your crayon molds, baking time will vary from 10-15 minutes. The heart shaped crayons took twelve minutes to melt in my oven. Later, we made star shaped crayons whose molds were bigger and deeper. It took fifteen minutes for those crayons to melt.


When you take the mold from the oven, you might find the edges of each cavity fully melted, with chunky bits left in the center. You can put them back in the oven for another minute or two, but it's fine to carefully push down the center with a toothpick. You'll see liquid wax fill in over those pieces.


Don't stir or over-mix the wax. You want the colors to remain intact.

You can let your crayons cool to room temperature, but you can also hurry them along a bit by putting the entire tray in the refrigerator on an oven mitt. These stayed in the fridge for twenty minutes.

Time to start popping the crayons out of the molds. The silicone is flexible. You'll be able to push the crayon up from the back, even peeling back the sides of the mold.

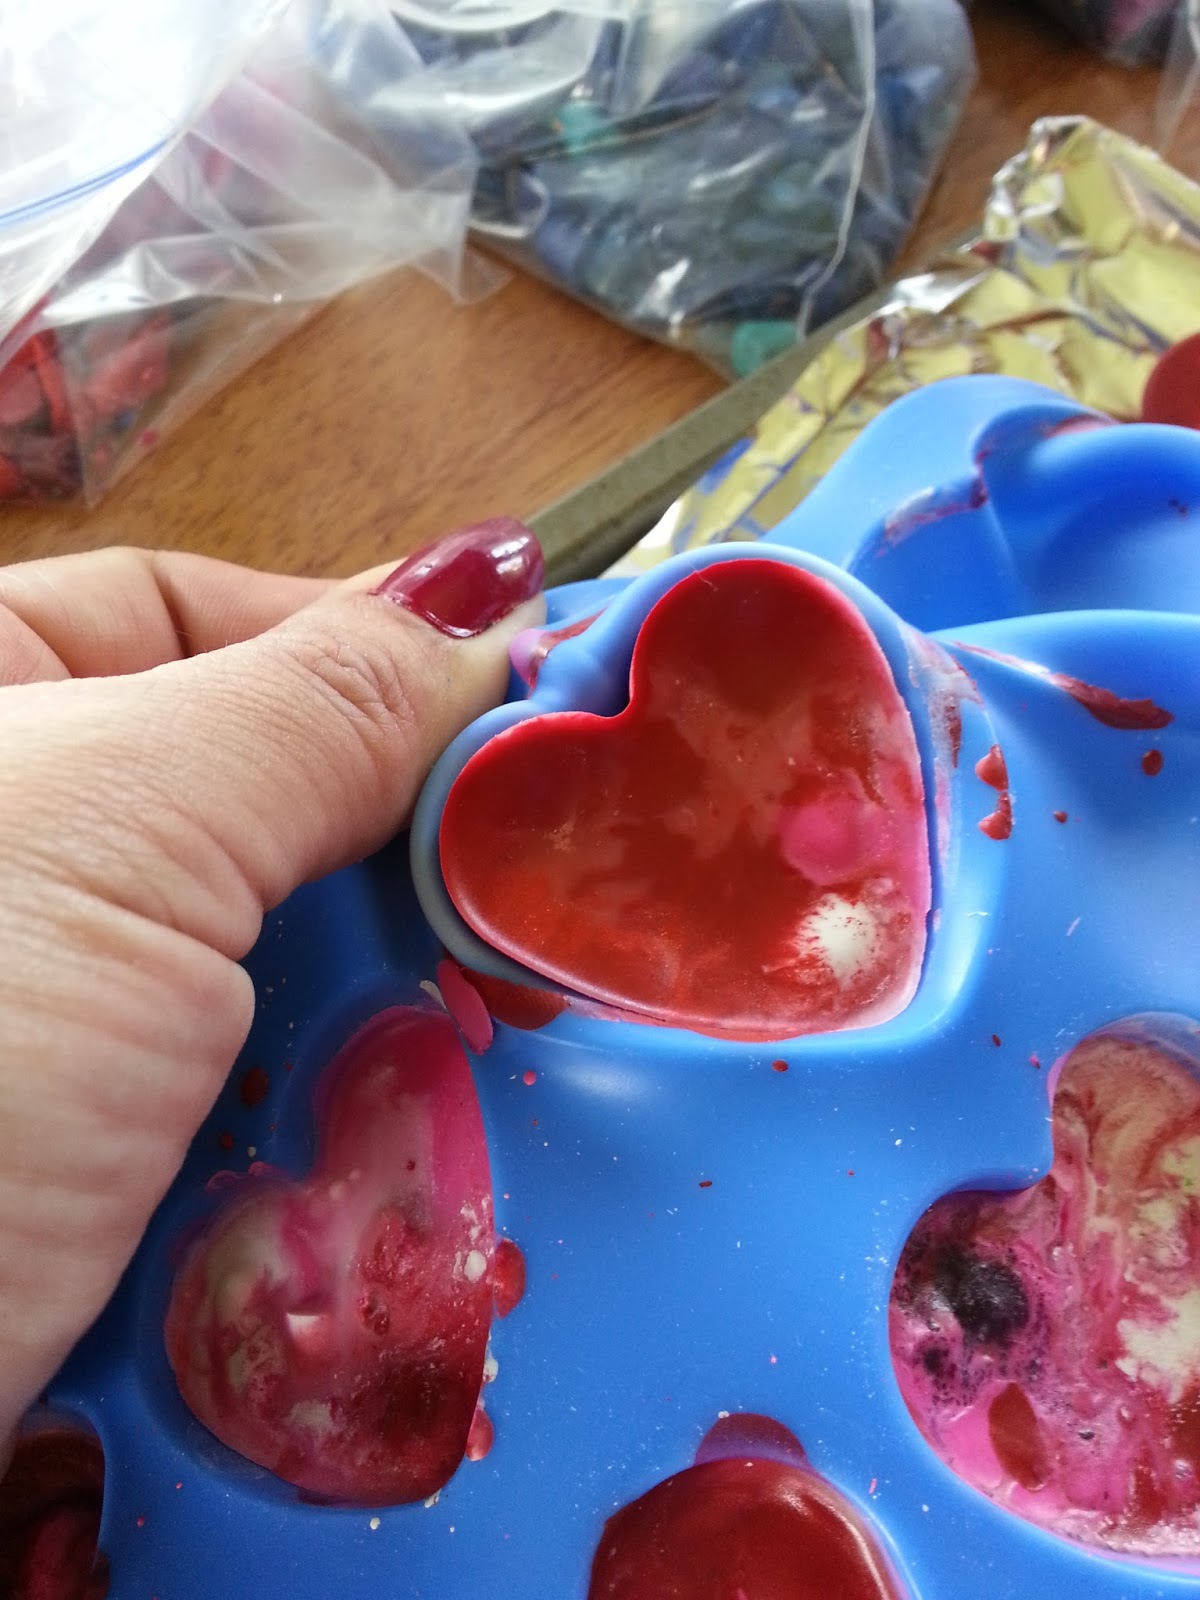

Never fear, the mold will return to its regular shape with some pushes and pokes. It comes ~this close~ to giving you the same rush that popping bubble wrap does. Well, almost.

Ready for more crayon bits!

I love how the heart crayons turned out. Instant valentine treat for my students, or my son's classmates!

I've made star shaped crayons for my students for several years now. These mold cavities are larger and deeper. We still stuff them full to the top, making sure that each point on the star is filled. Remember, when the wax liquifies, it sinks a bit and settles lower than the lip of the mold when cooled, so you want these crammed full of crayon bits. My son likes to mix the colors in each mold to create marbleized crayons.

These took fifteen minutes in the oven, but were still cool enough to remove from the mold after twenty minutes in the fridge. Now I have a class set, and plenty of heart shaped crayons too!


Fun-shaped crayons are enjoyed by kids and adults of all ages, though I wouldn't tell a student to "stay in the lines" when using them. My students love to slide the larger star crayons across white paper, creating a marbleized background for collages.
*****
P.S. The Almost Fourth Grader made Christmas tree shaped crayons for his classmates last winter for their gift exchange using the green mold in the first photo. He filled the main part of the mold with green crayon bits, the very top with yellow, and the bottom with brown. Beyond cute, I tell you.


