Showing posts with label craft. Show all posts

Wednesday, January 22, 2020

Craft Freebie: Arrowhead

So many of my colleagues, students, and their families are sports fans, while I, frankly, am not. The upcoming Super Bowl, however, is providing me an opportunity to incorporate another fun fine-motor activity into the mix of my Kansas classroom this week: my version of an arrowhead Kansas City Chiefs logo!

Though we're also preparing for Kansas Day (January 29) by making Jayhawks and sunflowers, my Stars have been talking a lot about football, with many associating (understandably so) the Kansas City Chiefs with the state of Kansas simply because of their name, even though "they're really in Missouri, Mrs. Sommerville.  Isn't that weird?  How come they aren't the Missouri City Chiefs?"

Oh, sweet friend, I don't understand it either.


As kindergarteners are all about ~sharing~, they've laid claim to the Chiefs, and because this kindergarten teacher is all about sharing (instead of sports) too, I'll link you to the arrowhead freebie here.  It's a simple template of an arrowhead shape with instructions on how to have students tear paper in a contrasting color.  I used our school's die-cut machine to make the red Ks and Cs, but they're not necessary if you're using the craft for another activity.


TOUCHDOWN! 

(Right?)

Wednesday, September 14, 2016

Dot Day Sculptures

Thanks to the alignment of our calendar and curriculum map this year, we're celebrating DOT DAY at the end of our "Colors All Around" unit.  We've learned about primary colors, secondary colors and shades, and have been identifying shapes and types of lines.  Searching for a dimensional art project that would be a great summary to the unit AND a link to Peter H. Reynold's beloved book, I stumbled across this video from Cassie Stephens, a wonderful art teacher:


... and EUREKA!  Give the pieces of paper FEET!  Wanting to see, hear and read more, I discovered Cassie's blog here, and wouldn't you know it, she has lots of beautiful projects for Dot Day that she's shared! 


Inspired by her paper line sculptures, I decided to adapt Cassie's project to include ONLY the primary, secondary and shade colors that we've learned about and used in our unit.  As it was the first time I was introducing sculpture and dimension into a class project, I decided to prep materials in advance, so that my students could spend most of their time experimenting with folding and gluing. I used 9 inch square white construction paper for the background, and about an 8 inch diameter black paper circle for our main "dot."


A school die cut circle block created the medium size circles in red, yellow and blue, but I also added some smaller yellow circles (after an unfortunate yet not terribly surprising spill accident) created with a paper punch.  The line pieces were our secondary colors, orange, green and purple, cut into 1 inch by 12 inch strips.

After rereading The Dot, reviewing our colors and color vocabulary, I modeled how to first add our primary colored dots to the black one, making sure to remind my Stars to glide their glue near-ish (see what I did there, Peter H. Reynold's fans?) to the edge so that none of the dots would curl up and away from the background.  Then the creation of "feet" began, and the Stars were ~entranced~ by the folding of their secondary colored lines.  When they saw the first strip of paper raised above the dot yet still attached to it, they were HOOKED.


The only other instruction I gave my students was to keep the primary and secondary colored pieces of their sculpture within/inside the black dot.  They loved this activity, and I suspect that I'm going to see a lot more dimension and height in their crafty creations for the remainder of the year!  


*****


Friday, March 18, 2016

Spring has SPRUNG Bunny Craft

My pattern for this adorable spring bunny with accordion legs is available in my TPT Store!


Click here for the pattern, or scroll through my TPT store's widget near my blog banner.

The pieces for this cute medium sized bunny can be printed onto construction paper, cut apart and assembled by your students OR you can cut out construction paper using the measurements provided for more of an assembly-only activity. Cutting instructions include cutting off corners to make edge rounder/curved and cutting oval, circle, or triangle shapes from a simple square, which you can easily model to students.

I've included measurements for a LARGE bunny as well (or you can enlarge the printable template as large as you'd like)- it's almost as tall as a kindergartner!

Construction paper color combos I used with my students include:

white bunny, tan details, pink nose, black marker/crayon eyes
black bunny, light blue details, pink nose, white crayon eyes
tan bunny, pink details, pink nose, black marker/crayon eyes

I imagine solid colored bunnies with patterned scrapbook paper would also look darling!


Let me know if you decide to make these cute bunnies- I'd love to see them!

~Michaele~

P.S. It seems my egg shaped bunny ALWAYS gets pinned each spring- remember this one?


Friday, March 20, 2015

Lions and Lambs


Discussing March weather before Spring Break began, my Super Stars could be heard judging conditions each morning as they entered from the chilly line outside, fingers crossed that it would be warm enough later for recess:

"We are soooooooo going to have a lamb day today."

"I'm grumpy.  I think it's lion-ing out there today, so we won't get to play outside."

Lamb Day.  Lion-ing.  Of course I enjoy eavesdropping and catching all of the verbiage. 

*****

Here's where I posted the lamb craft originally.

The lions were a quick shape review activity, using 11 X 11 orange squares, tan ovals, white circles, black triangles, and tan semi-circle ears.

*****

Do you think the upper middle lamb resembles Bert?  Maybe it's just me.  


Wednesday, January 14, 2015

The Cat's Meow (Craft)

Kansas Day is January 29, and as my kindergartners begin to learn about our state symbols, I can't ignore the need for a mascot craft that will partner well with our Jayhawks.

Of course, being the ~mother~ of a K-State Wildcat, I can't very well guarantee future classroom volunteerism from my daughter (she's a rower) if I don't make sure she and her friends are well represented on our bulletin boards.


Purple:  body, ears, legs, paws, tails, feet, and nose
Gray:  tummy, snout, inner ears, and stripes on legs
White:  eyes


Since I couldn't find a cat template online that used enough basic shapes for a math review, I drew my own.  My Stars will describe the shapes and lines they find as they identify each piece, and will follow three step directions to assemble the craft.

Our finished Wildcats will be paired (in friendship) on our hallway bulletin board with the Jayhawks we'll make tomorrow.  Check back to see how they turned out!


*****

Come to think of it, this craft could be fun if you're reading Splat the Cat, or some other book full of feline fun!  

It's...

... the cat's meow.  

Tuesday, January 13, 2015

Circle Marks the SPOT

Like most kindergarten teachers, I have quite a few wigglers in my class.  For the most part, the wiggling is appropriate and safe, but every so often...

No.  Scratch that.

OFTEN... ~one~ of my friends can not (will not?) stay in a spot when excessive wiggling is a huge distraction and safety issue.

Calendar... wiggle-wiggle-scootch-scootch.

SMART Board... wiggle-scootch-scootch-bonk.

Criss-cross-applesauce at story time... wiggle-stand-jump-drop-scootch-scootch-bonk-BASH-scootch-scootch-scootch-kick-a-finger-plop.  

Scootch scootch.

This friend is fun loving, sweet, eager, mischievous and is wired to need full contact EVERYTHING.  But the rest of my friends (all twenty of them) prefer their space un-invaded, their fingers un-smashed, and their bodies and booties un-kicked.

If we give our friend too much space near the back of the group, the range of motion and sheer square feet of space that end up being used, explored, bothered and crashed into increases exponentially.

I don't do carpet squares (but used to, years ago), and I'd rather not have to put tape down on the carpet that will end up getting sucked into the vacuum each night.  We've reached the point where my friend is going to have to compromise a bit and try to keep himself restrained and contained for a longer amount of time while we hope he comes to the realization that at school he'll need to share his space with his peers in a way that is safe for all, even if he has acres of space available elsewhere.

Discovering "Sit Spots" in our music teacher's room, I inquired about their price, durability, and ease of removal/relocation.  Imagine my surprise when she pulled one up with the telltale rrrrrriiiiiiiiiip sound of velcro! Inspired, I quickly got online and checked out the products available, experiencing a sinking feeling when I saw the price and realized I didn't have it in my budget to immediately order a set for classroom use.

But I'm a crafty sort, yes sir-ee Bob, and here's what I used to make my own circle-marks-the-spot tools:

Construction paper
Laminating film
The rough side of hook and loop adhesive tape (velcro)

I cut out different colored circles (though my friend's will all be the same color), roughly four or five inches in diameter, and laminated them using my desktop laminator and 3mil film:


I cut out the circles, leaving 1/4 inch border of lamination around each, and then affixed a strip of the ROUGH loop (not the soft, fluffy side) velcro to the back.


Here's what they look like in a row on our carpeted floor:


And best of all, they don't really stick to the carpet until you get them exactly where you want them, and then press down firmly to work the rough loop velcro into the carpet's surface:


Firmly stuck, easy to see, simple to move.  Since I don't teach 400 + students like our music teacher, I'm hoping my spots are durable enough to get a lot of use out of them for the remainder of the year.

Wish me luck as I introduce my friend to Circle-Marks-the-Spot!

Monday, November 03, 2014

Veterans Day Craft

Being the wife of a United States veteran, and having taught so many students from military families, it has always been important to me to include a Veterans Day craft in my lesson plans each November.

Here's what we used for our hallway bulletin boards:


(1) large 12 X 18 inch piece of light gray construction paper (cut as shown for body)
(1) 3 X 18 inch rectangle of light gray construction paper (arms)
(1) 5 X 8 inch rectangle of light gray construction paper (curved at top for helmet)
(1) 7 X 7 square of light gray construction paper (curved at bottom) 
(1) 6 X 6 square of skin colored construction paper (for face; curved at bottom; will be glued to 7 X 7 gray square)
(2) 3 X 4 rectangles in dark brown (to be cut into boot shapes)
(2) 3 X 3 squares in skin colored construction paper (for hands)
(1) 7 X 1 and 1/2 inch strip of red, brown, yellow, or black paper (for hair)
(2)  2 X 2 white squares (for eyes)
Red, white, and blue construction paper hearts (we layered ours)
(1) 1 X 4 strip of black construction paper (my students wrote their veterans' names on them and then glued them onto the hearts)
(2) shades of gray paint, one lighter than the other
(1) sponge, cut into smaller rectangles


Before working with the skin colored construction paper, my kindergartners glued the long rectangular gray strip across the back of the torso portion of the body piece.  Then they applied two different shades of gray paint with sponges, to mimic the digital camouflage pattern on modern Army uniforms, onto the body, arms, and smaller helmet piece.


Then the Stars glued the skin color piece onto the remaining gray piece, making sure the curved corners matched up.  The gray peeking around the face looks like the helmet's strap.  Then the kindergartners chose their soldier's hair color and glued it above the face:


After the paint had dried, the Stars completed the assembly of their veteran soldiers by gluing the helmet to the top of the head (leaving some hair peeking out), eyes onto the face, hands onto the end of each arm, and boots at the end of each leg. They used crayons to color in the eyes, and add mouths and cheeks. Then our red and white hearts were layered on top of the blue heart, and each student wrote his or her last name across the thin black rectangle, to mimic a soldier's name tag.


We hope visitors to our school enjoy our Veterans Day bulletin board during Open House later this month.


Thank you, Veterans!

Tuesday, March 25, 2014

Spring Chick Art

Maybe she's born with it... maybe it's Maybelline:


Ha!

Thursday, November 14, 2013

Terrific Turkey Windsock

This evening is Open House at my school, which means it's time for me to treat my Super Star Families to an apple, and my Stars to treat their parents and siblings to some November artwork.  Families will tour the classroom and school building, but it's always nice to have some sort of take-away to help them mark the occasion.


After passing classroom after classroom of paper bag turkey crafts, the Stars and I decided to make a turkey windsock that could be hung anywhere at home.  We started with a 12 X 18 piece of black construction paper stapled into a tube, four 8 inch lengths of orange streamers, and white twine.  For our terrific turkey, we used a 9 inch diameter circle, a 2 X 8 red rectangle, a 2 X 2 red square, and 3 X 4 rectangles in red, green orange, and brown to form the turkey's body and feathers.  After modeling how to cut the corners and assemble the turkey, I sent the Stars back to their desks to work.


After gluing the turkey bodies to the tubes, we have a gaggle of gobblers!


Monday, October 28, 2013

H is for Halloween Hoot Owls in Hats

As my Stars have plenty of opportunities to trace and cut at centers, it's fun to give them the chance to work on tracking, memory and assembly projects.  School volunteers cut the following shapes out of black, white, brown, orange and yellow construction paper (the large brown rectangle is 7 inches by 9 inches):


I cut a triangle and wide rectangle from an old book, but you could also use newspaper/newsprint:


After showing my students how to assemble the owl (hoo hoo, they're wearing Halloween hats!), I sent them back to their desks to see if they could remember each step:


First, we wrote our names on the large black piece of paper with a white crayon, and then flipped it over.  We drew a line with our crayon across the upper right corner and colored it in to make the moon.

Then we glued the large brown rectangle near the bottom of the page, and added the brown triangles (ears), white circles (eyes), and orange wings.  After gluing the orange triangle between the eyes, we made an AB pattern with the remaining yellow and orange triangles for the owl's chest feathers.  Using a black crayon, the Stars colored a pupil onto each of the owl's eyes.

Finally, we created a hat by gluing the newsprint/book page rectangle and triangle together and then setting them at a jaunty angle over one of the owl's ears.


What's an art project without glitter?  Using "wet" glue, squeeze several spirals across the hat and night sky.  Then sprinkle (or dump) gold glitter over the glue:


Shake off the excess glitter:


... and there you have it!

Hoo hoo!  Halloween Hoot Owls in Hats!

Tuesday, July 09, 2013

Updating Teacher Binders

Admission: I haven't updated my teacher binder (cover, divider pages) since I created it five years ago.

That's right, it was 2008.  Don't believe me?  Here's the post.

No wonder I was feeling ready for a change yesterday as I tackled the next organizational chore on my summer to-do list: sorting through binders.

When Uncle Sam decided to move my family from Alaska to New Mexico, there was no way I could bring every single teaching resource with me, so I became a binder queen, sorted through all of the reproducible books I had, tore out the pages I thought I might need, divided them by month into wide, three-ringed jobbies, and donated the rest.  It lightened the load considerably from what I started with, but the binders, August through May, were chock-full.  

As my husband has retired and we've been in our home for almost two years now, I decided that it was time to look through my stash of reproducibles and whittle down as much as I could to free up some much needed space in my classroom cabinetry, though I really just wanted to update the covers on the binders that I've been using for lesson plans, student data and subs.  It took self-bribery to motivate me: You know, if you take care of the monthly binders, THEN you won't feel guilty about decorating the other ones.

I may have also promised myself an iced vanilla chai as an added incentive.


See the eleven binders on the middle shelf?  They're no longer there.  I worked the stash of October-May reproducible pages down to TWO BINDERS.  Teachers are natural hoarders but let me tell you, the occasional purge is liberating.  Since the pages I removed are being donated to a local pre-school program, I don't feel like anything is being wasted. 

Whew.

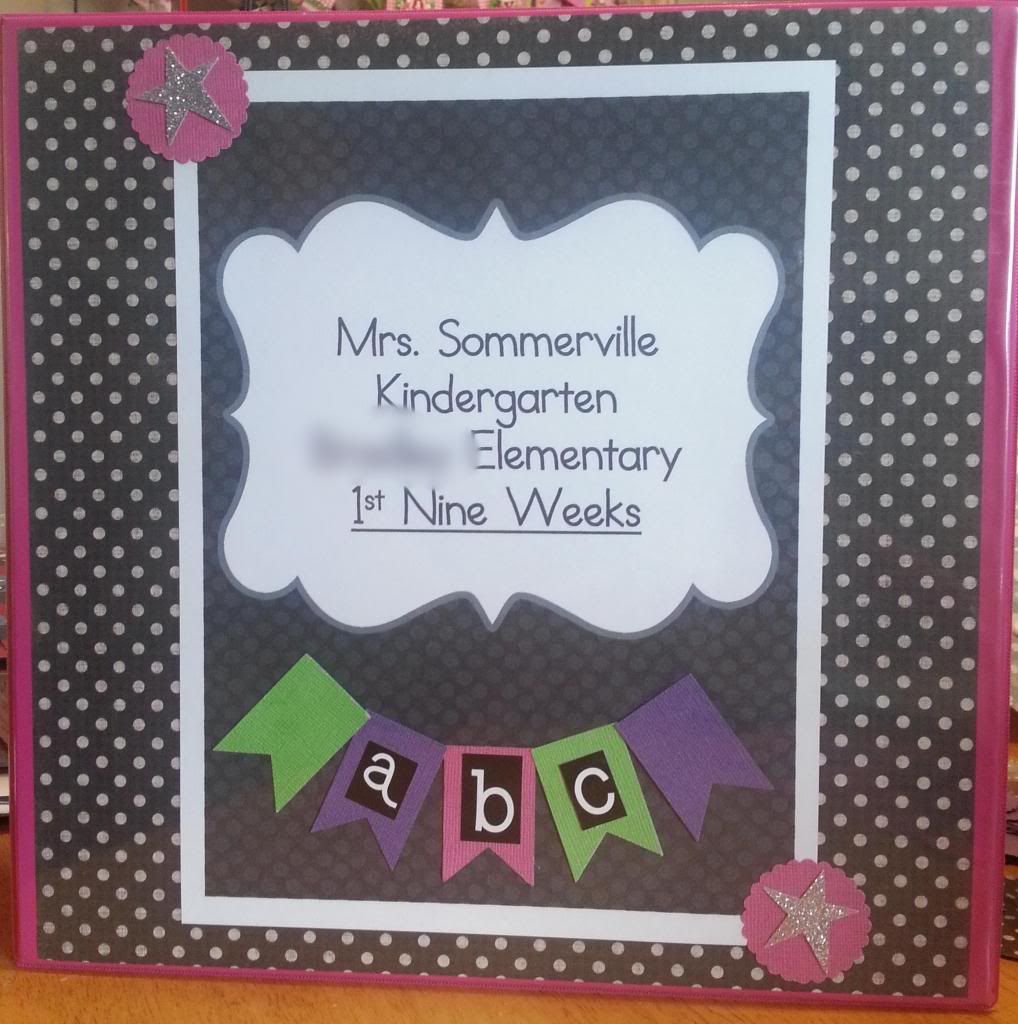
And my reward to myself?  Reworking the covers of my frequently-used-binders!

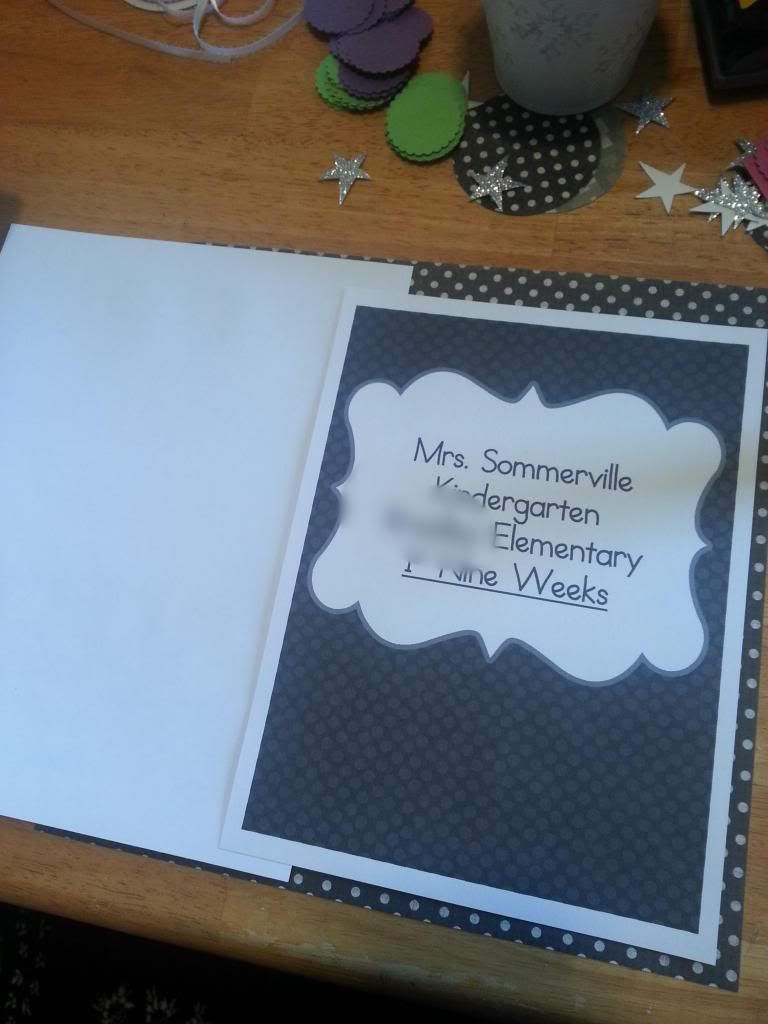
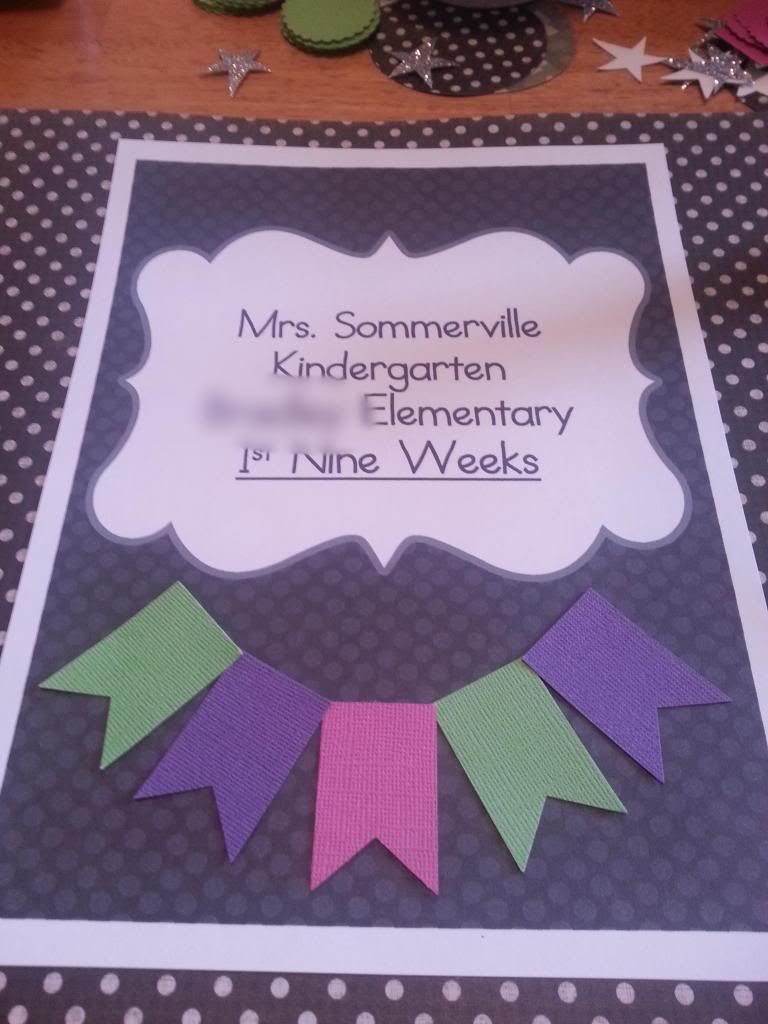
First, I had to trim a piece of 12 X 12 scrapbook paper so it would slide into the clear pocket/sleeve on the front cover:


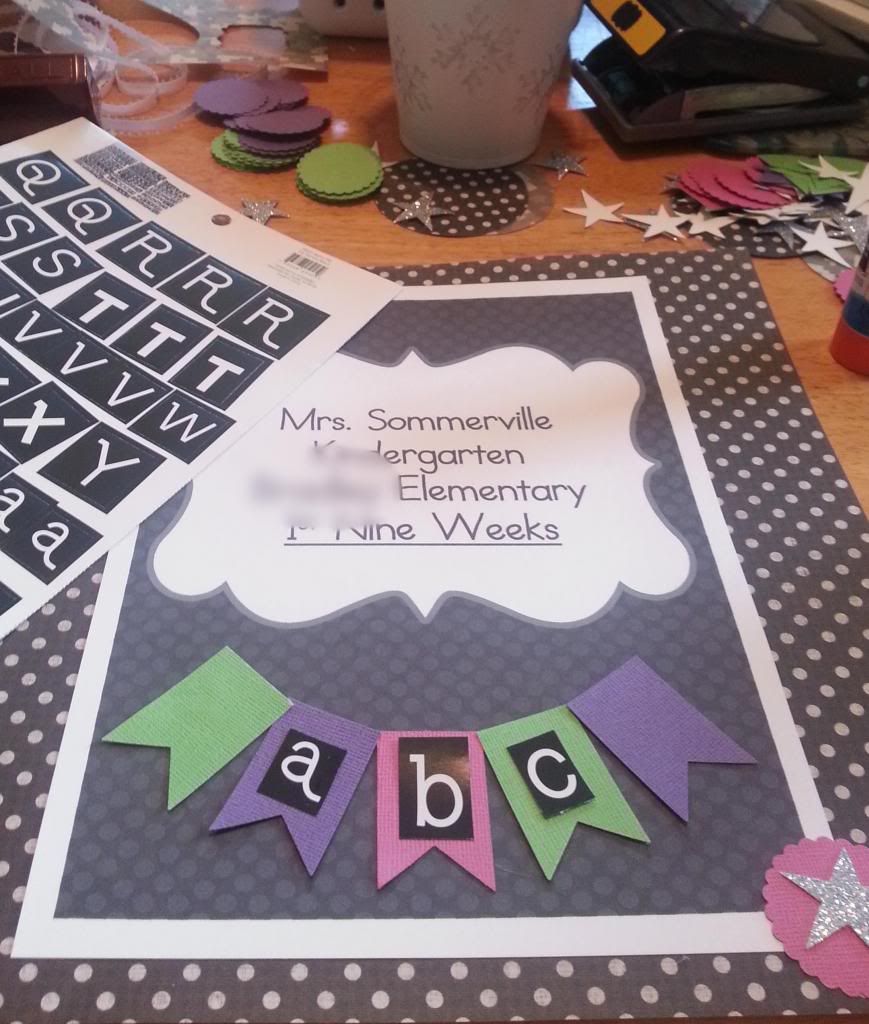
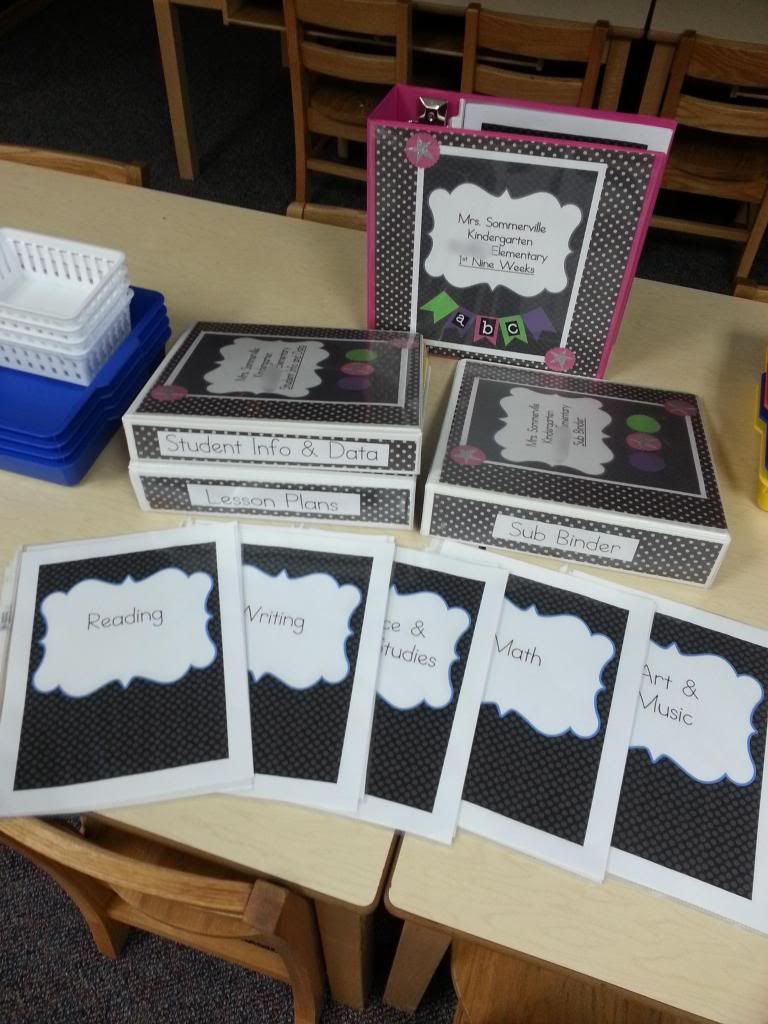
Using page 5 of Kimberlee Fulbright's free Editable Teacher Binder, I used cardstock to make cover pages for my lesson plan, student data, substitute teacher and quarterly reproducible binders.  I also used page 5 to print off divider pages for the quarterly binders: math, reading, writing, science and social studies, art and music, and assessments that I slid into page protectors.

To the left is the original cardstock size, on the right is the trimmed version:

 photo bindermeasurepaper3_zps5ac592e6.jpg

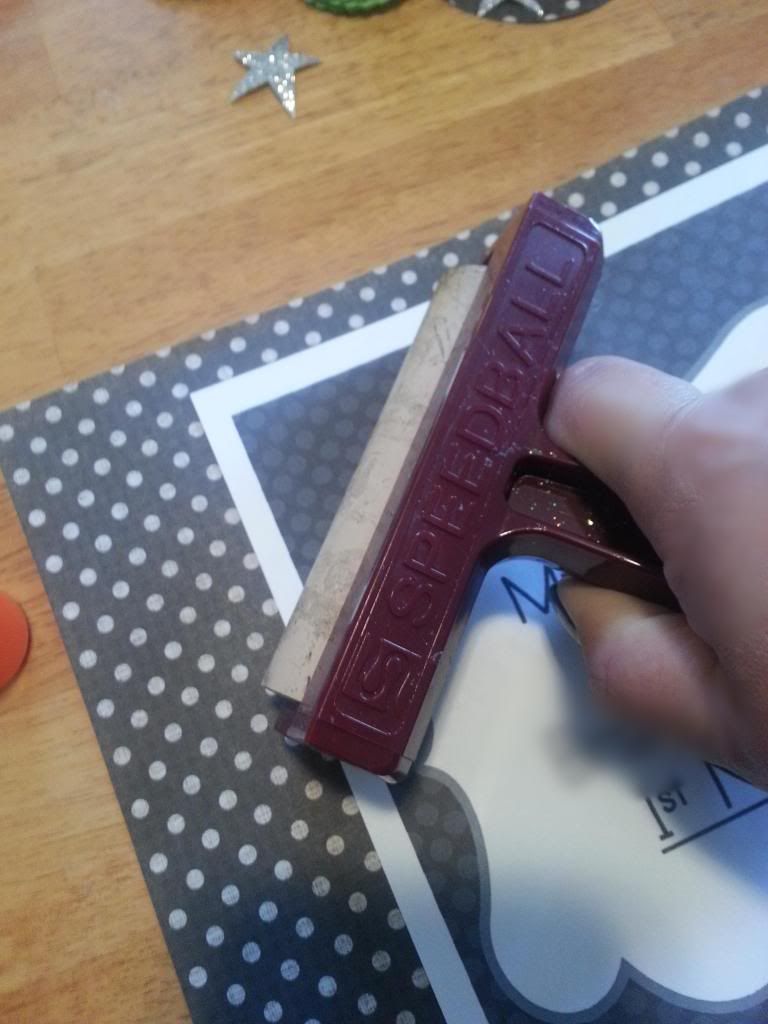
After gluing the back of the cardstock, I adhered it to the scrapbook paper and smoothed out air bubbles and wrinkles with a brayer:


 photo binderroller_zps5b131315.jpg

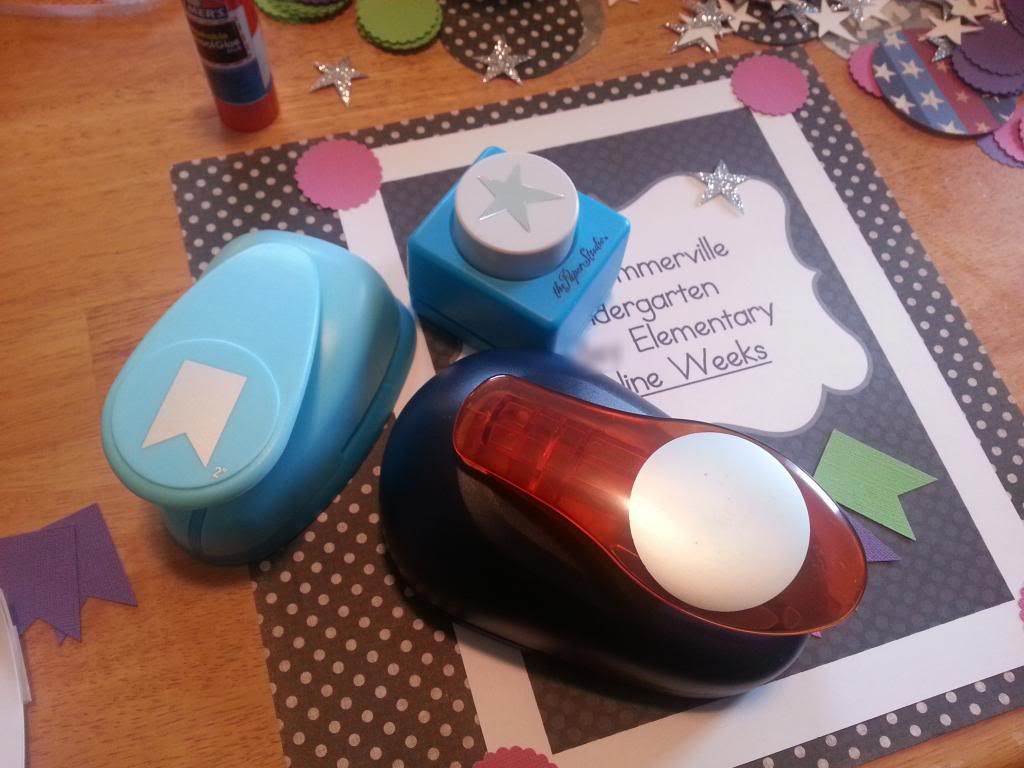
Saving ink, I printed in grayscale/black and white since I knew I was going to add cardstock punches that would provide a happy pop of color.

 photo binderpunches_zps000b8507.jpg


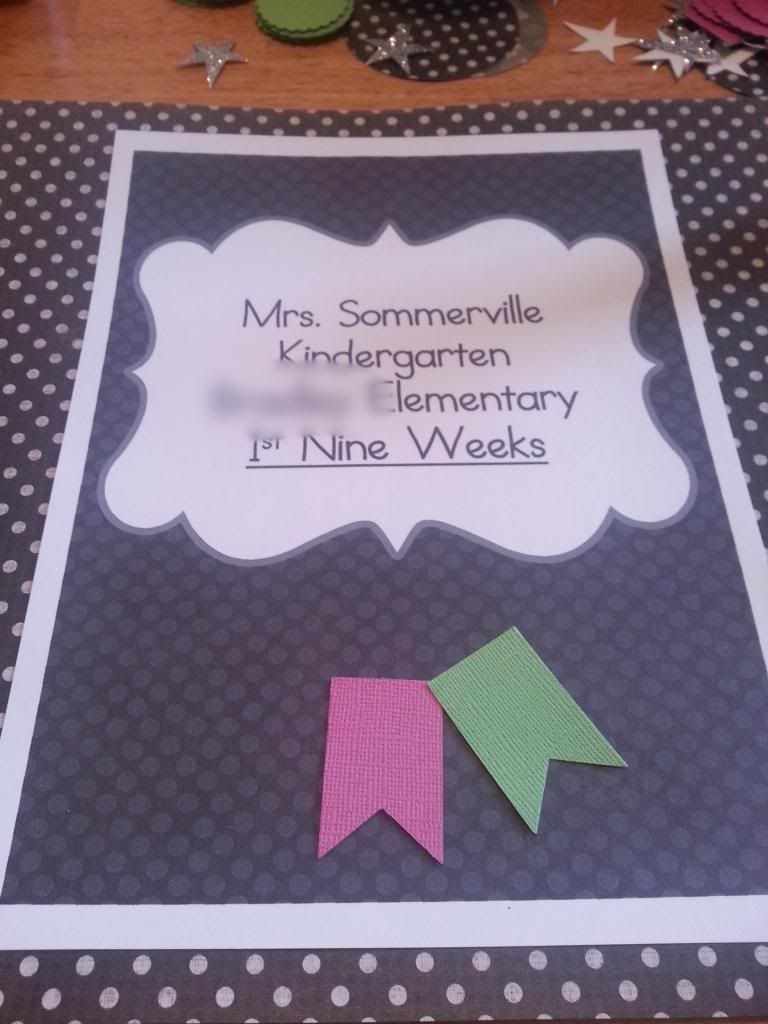
 photo binderdetail1_zpsde10a1d8.jpg

 photo binderdetail2_zps10f615df.jpg


Sticker time!


 photo binderdetail3_zpsc496ce45.jpg

After sliding the page into the sleeve/cover:

 photo binderfinished_zps8f04433e.jpg

 photo bindersfinal_zpsabbc0161.jpg

Bright and happy and hard to miss, organized binders save me a lot of time when planning, tweaking, and tracking down info.

*****

Need some more binder inspiration?  Visit:

~ Lindsey over at The Teacher Wife: How to Create Your Own Teacher Binder

~ Jenny at Luckeyfrog's Lilypad: Teacher Binder Remix

~ ... and Mrs. H at Once Upon a First Grade Adventure: Project Binder-ize!