Showing posts with label art project. Show all posts

Monday, November 03, 2014

Veterans Day Craft

Being the wife of a United States veteran, and having taught so many students from military families, it has always been important to me to include a Veterans Day craft in my lesson plans each November.

Here's what we used for our hallway bulletin boards:


(1) large 12 X 18 inch piece of light gray construction paper (cut as shown for body)
(1) 3 X 18 inch rectangle of light gray construction paper (arms)
(1) 5 X 8 inch rectangle of light gray construction paper (curved at top for helmet)
(1) 7 X 7 square of light gray construction paper (curved at bottom) 
(1) 6 X 6 square of skin colored construction paper (for face; curved at bottom; will be glued to 7 X 7 gray square)
(2) 3 X 4 rectangles in dark brown (to be cut into boot shapes)
(2) 3 X 3 squares in skin colored construction paper (for hands)
(1) 7 X 1 and 1/2 inch strip of red, brown, yellow, or black paper (for hair)
(2)  2 X 2 white squares (for eyes)
Red, white, and blue construction paper hearts (we layered ours)
(1) 1 X 4 strip of black construction paper (my students wrote their veterans' names on them and then glued them onto the hearts)
(2) shades of gray paint, one lighter than the other
(1) sponge, cut into smaller rectangles


Before working with the skin colored construction paper, my kindergartners glued the long rectangular gray strip across the back of the torso portion of the body piece.  Then they applied two different shades of gray paint with sponges, to mimic the digital camouflage pattern on modern Army uniforms, onto the body, arms, and smaller helmet piece.


Then the Stars glued the skin color piece onto the remaining gray piece, making sure the curved corners matched up.  The gray peeking around the face looks like the helmet's strap.  Then the kindergartners chose their soldier's hair color and glued it above the face:


After the paint had dried, the Stars completed the assembly of their veteran soldiers by gluing the helmet to the top of the head (leaving some hair peeking out), eyes onto the face, hands onto the end of each arm, and boots at the end of each leg. They used crayons to color in the eyes, and add mouths and cheeks. Then our red and white hearts were layered on top of the blue heart, and each student wrote his or her last name across the thin black rectangle, to mimic a soldier's name tag.


We hope visitors to our school enjoy our Veterans Day bulletin board during Open House later this month.


Thank you, Veterans!

Wednesday, May 08, 2013

Once in August, Again in May

I've shown you these before-and-afters over the years in previous blog posts, but you know I can't resist sharing this project with you again!

The directions are the same in May as they are in August, but the results are incredibly different:

 August:


May:


August:


May:


August:


May:


August:


May:


August:


May:


And the best part?  I got to be there every step of the way.

Tuesday, April 02, 2013

We've Got the Whole World: Earth Day Project

Yesterday I shared some of my Stars' "flower power" recycled art with you.  Today I'd like to show you a coloring/painting/writing project:


Using a coloring page found here, I asked our copier secretary to enlarge the Earth onto a 12 X 18 piece of white construction paper.  After students colored the land and water with crayons,
they used black watercolor to darken the rest of the page:


Once the watercolor had dried, our assistant painted the Star's hands red, placing them on either side of our big blue marble.


 The Stars then copied "I've got the whole world in my hands."


As each student finishes, our Earth Day project joins our Flower Power recycled art in the hallway. 

What a fun, gallery-style display for April!


*****

Would you like to share your own Earth Day/Recycling project?  Link us up in the comments!


Monday, November 21, 2011

Great Gobblers!


We used our gobblers as a writing prompt, gluing them above our responses to "Save a turkey, eat more ______________!"

Cupcakes, chicken nuggets, candy, and even pudding were suggested as suitable replacements for the traditional turkey dinner.

:)

Gobble gobble!

Friday, May 07, 2010

Same Lesson, Same Students...

... but very different results!

What happened?

*Kindergarten* happened.

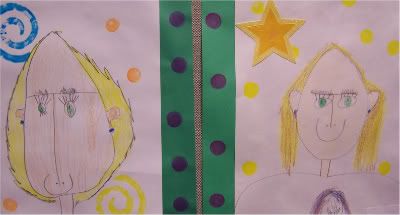
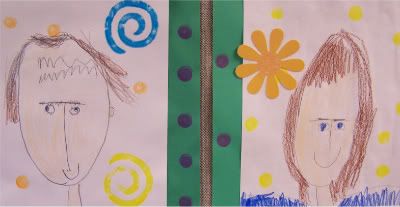
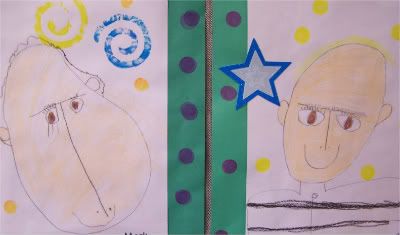
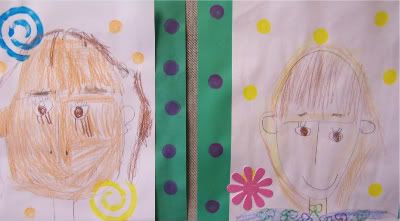
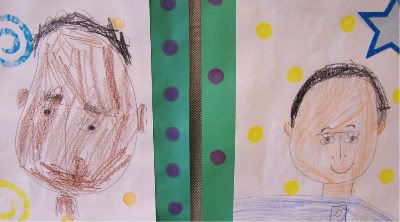
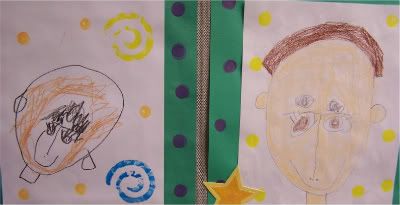
On the left, an August self portrait.  To the right, this week's rendering.

Yes, I cry (tears of joy and pride, I assure you!) when I display these side by side for our last bulletin board display of the year :

Photobucket


Photobucket


Photobucket


Photobucket


Photobucket


Photobucket


Super Stars, you are AWESOME!

Thursday, October 15, 2009

Witchy Goodness

Photobucket

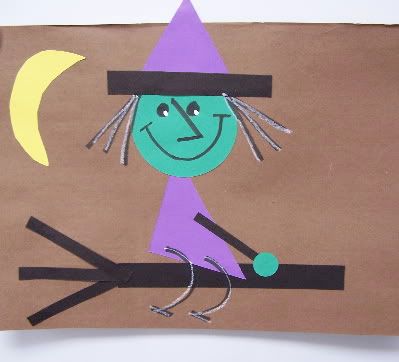
Dear Daughter had the day off from school today, so she spent time with me and my Super Stars in kindergarten. After sorting through my sticker stash, she found inspiration from an old Hallmark sticker shaped like a witch. Being a true "teacher's kid," she knew exactly where to find our school die cut machine and colored construction paper to mock up this simple Halloween art project.

While your scrap bin is the perfect place to find the bits and pieces necessary to assemble the witch, here's what we used to create the finished product above:

Background: brown construction paper (the big stuff...12X18 inches)

Face and hand: green construction paper (circle die cut- ours cuts both a large and a small circle with one punch; large=face, small=hand)

Witch's hat: purple construction paper (triangle die cut)

Hat brim: black construction paper; 3/4 inch by 6 inches

Witch's dress: purple construction paper; square die cut template cut in half to make a triangle shape. The right angle point is her rear end.

Witch's arm: black construction paper; 1/2 inch by 3 1/2 inches

Broomstick: black construction paper; 1 inch by 9 inches

Twiggy ends for broomstick: black construction paper; 1/2 inch by 4 inches, three pieces per child.

Crescent moon: yellow construction paper, drawn and cut freehand.

Use a black crayon or marker to make the witch's hair, facial features, legs and feet. Use a white crayon or dab of paint (a white-out pen works great!) to highlight the eyes, hair and legs.

*****

~ Martha shares I Scream Sandwitches....

~ More witchy goodness can be found over at owlsorts' post "Black and White and Dread All Over..."

Boo witch