Thanks to prior hand injuries, it's difficult for me to write legibly when I print small letters on narrow surfaces. Hooray for printers, scissors, wooden clothespins and Mod Podge!
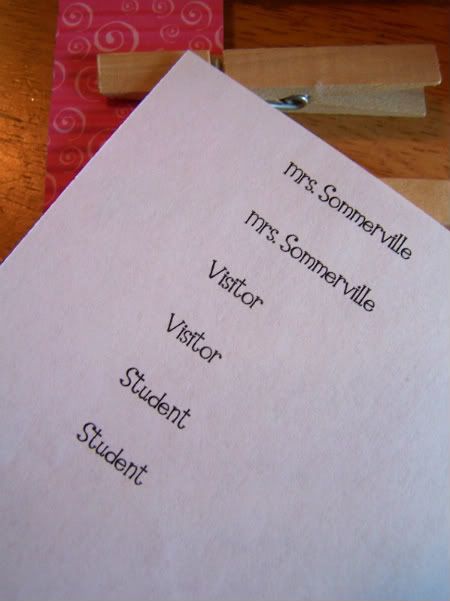
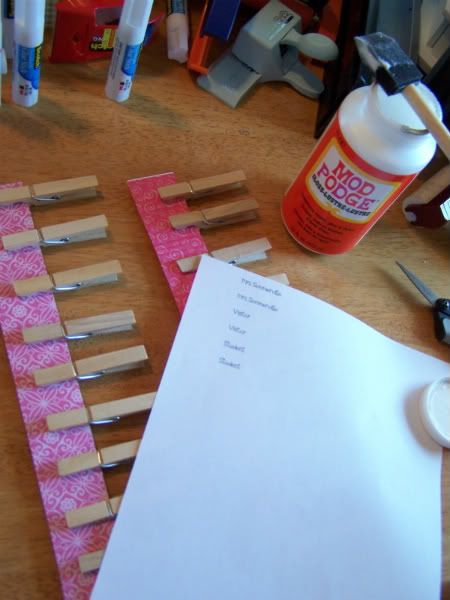
First I print out my students' names twice, making sure the ink has time to dry completely:
First I print out my students' names twice, making sure the ink has time to dry completely:
Then I clip clothespins to some cardstock to keep them from rolling.
Paint a thin layer of Mod Podge across the clip where the name will be adhered:
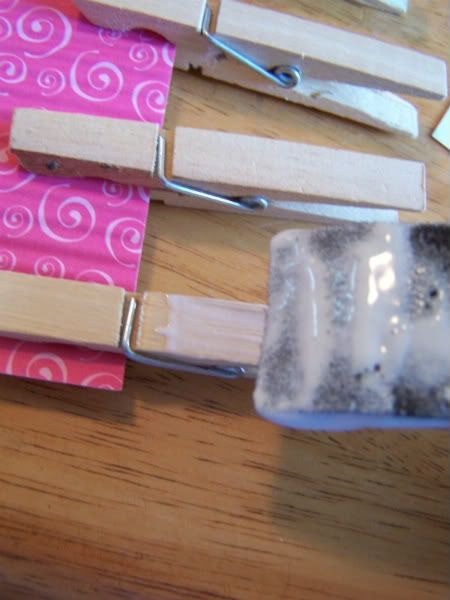
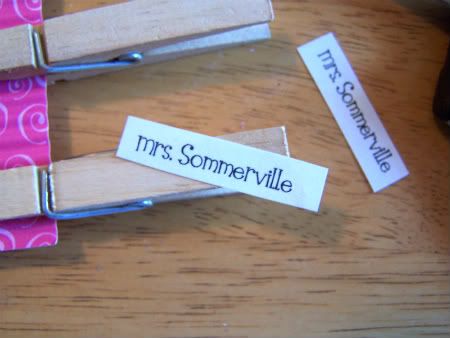
Then press the name onto the clip, smoothing out any air bubbles. Be careful not to smear the ink on the paper:
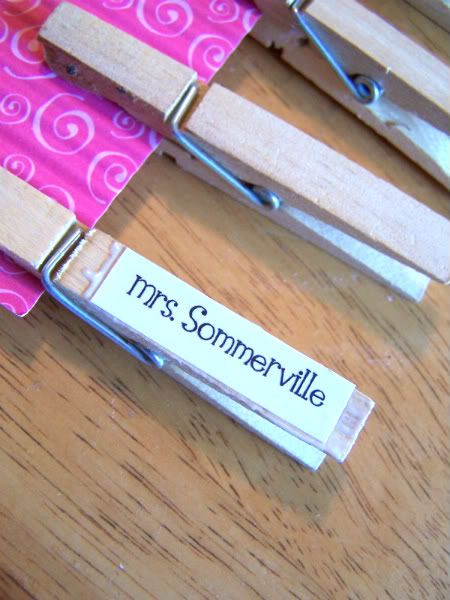
Paint a thin layer (okay, so it looks globby and opaque- never fear, it will dry clear) over the paper and let it dry before flipping the clip over and repeating the process on the back:
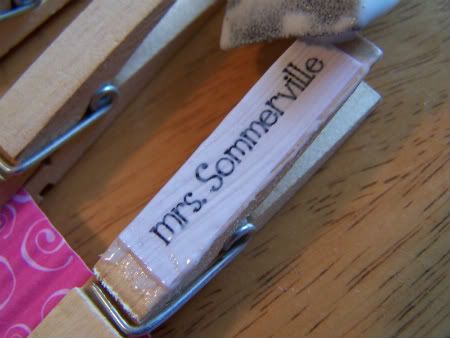
These particular clips will be used on our class lunch chart, so that students, visitors and I can indicate whether we're having school lunch or home lunch each day.
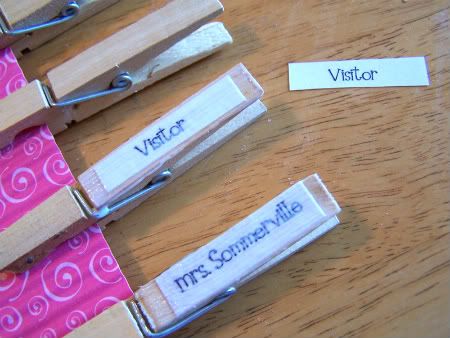
Though these are plain (fabulous for name recognition), these clips are easy to "prettify" if you'd like.
Here I've clipped some scrapbook paper:
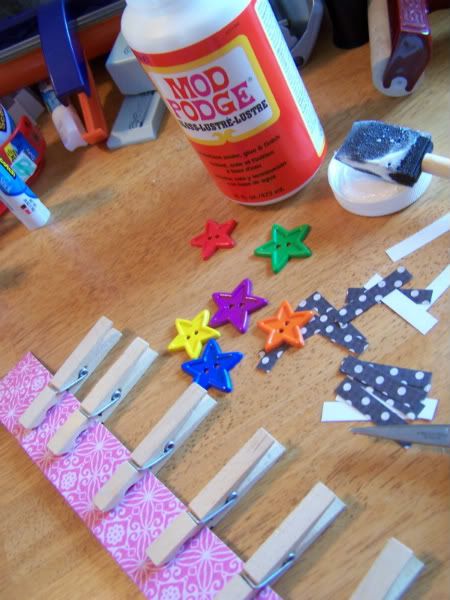
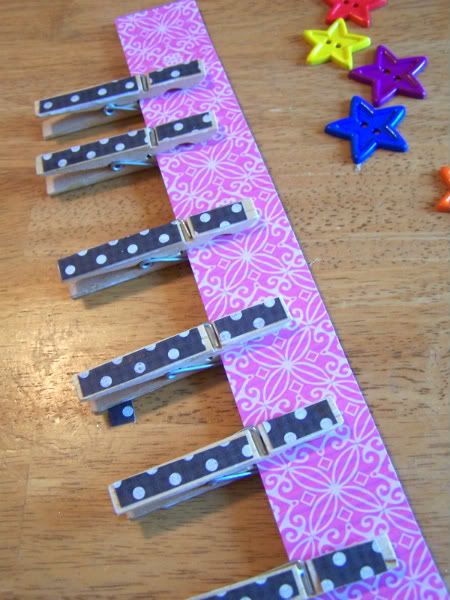
... and I've topped them off with star buttons, using the wonder adhesive, E-6000:
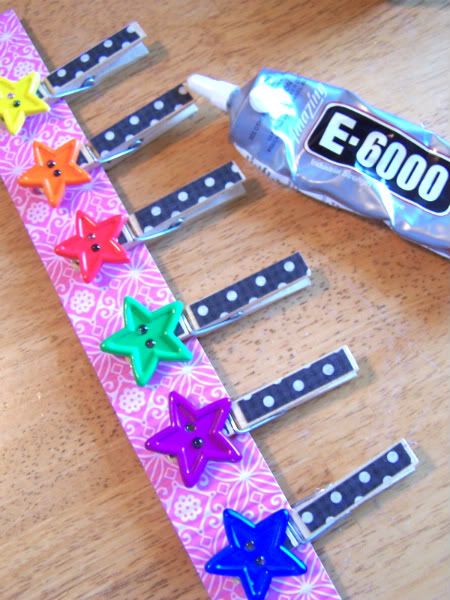
Once dry, you can add magnets to the back of each clip if you'd like to use these on magnetic surfaces. The Mod Podge dries VERY quickly, but the E-6000 should be allowed to dry overnight.
*****
~ Pin and Paper offers another great clothespin tutorial here...
~ ... with Creature Comforts offering creative clippy goodness here...
~ Scroll all the way through Mama's Little Monkey's tutorial for a fun stamping idea for clothes pins... I'm thinking SIGHT WORDS!
~ If you're a crafter, you know holiday gifts must be made early! Here's a fabulous Christmas card display idea using.... yep, you guessed it....craftyified clothespins.
*****
How do you fill your students' learning areas with print?

Then press the name onto the clip, smoothing out any air bubbles. Be careful not to smear the ink on the paper:

Paint a thin layer (okay, so it looks globby and opaque- never fear, it will dry clear) over the paper and let it dry before flipping the clip over and repeating the process on the back:

These particular clips will be used on our class lunch chart, so that students, visitors and I can indicate whether we're having school lunch or home lunch each day.

Though these are plain (fabulous for name recognition), these clips are easy to "prettify" if you'd like.
Here I've clipped some scrapbook paper:


... and I've topped them off with star buttons, using the wonder adhesive, E-6000:

Once dry, you can add magnets to the back of each clip if you'd like to use these on magnetic surfaces. The Mod Podge dries VERY quickly, but the E-6000 should be allowed to dry overnight.
*****
~ Pin and Paper offers another great clothespin tutorial here...
~ ... with Creature Comforts offering creative clippy goodness here...
~ Scroll all the way through Mama's Little Monkey's tutorial for a fun stamping idea for clothes pins... I'm thinking SIGHT WORDS!
~ If you're a crafter, you know holiday gifts must be made early! Here's a fabulous Christmas card display idea using.... yep, you guessed it....craftyified clothespins.
*****
How do you fill your students' learning areas with print?

Super cute! I need to make this for my Super Stars! I use clothespins on our behavior clip chart as well.
ReplyDelete✪ Miss W
Miss W Teaches