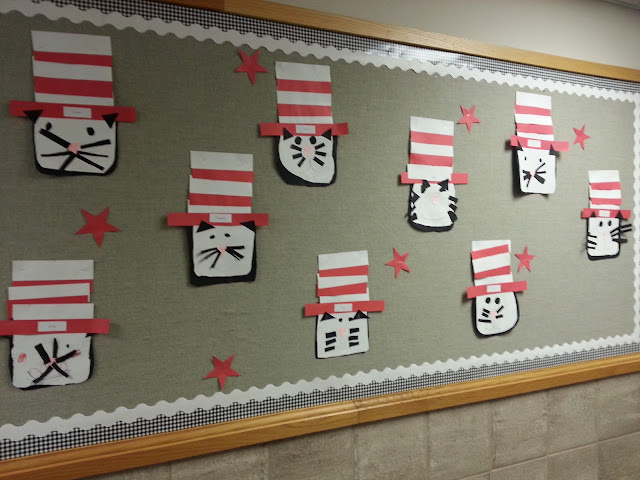
(and an extra black 2 X 3 piece or two for the ears and eyes; apologies for not photographing them)
Students should cut off the corners of the white square, making a circle.
Glue that circle onto the center of the large black square.
Trim the corners off of the black square, making a larger circle.
Add pink triangle nose to center of face.
Cut out six whiskers from the 2 X 3 black rectangle, and glue three on either side of the nose.
(You'll need another rectangle or two for the ears and eyes)
Cut out two eyes. Glue them above the nose.
Add a WHITE 2 X 7.5 strip of paper on the very top of the cat's head. Yes, WHITE.
Add the red 1.5 X 12 strip to the bottom of the white stripe, so it sits lower on the forehead. This is the brim of the hat.
Make an AB pattern with the remaining red and white strips, making the hat taller by adding stripes UP (some kiddos might choose to turn their cats upside down so they can add strips top to bottom instead of bottom to top).
Cut triangle ears and glue them so that they touch both the cat's face and his hat.
Add a mouth with crayon if desired.
*****
Do you have a Seuss-tastic craft to share? Link us up in the comments below!
*****


This is great - and is going to happen in my K classroom. Thanks
ReplyDelete@kathgrate